Image 1 of 1: ‘T1 Normalization’
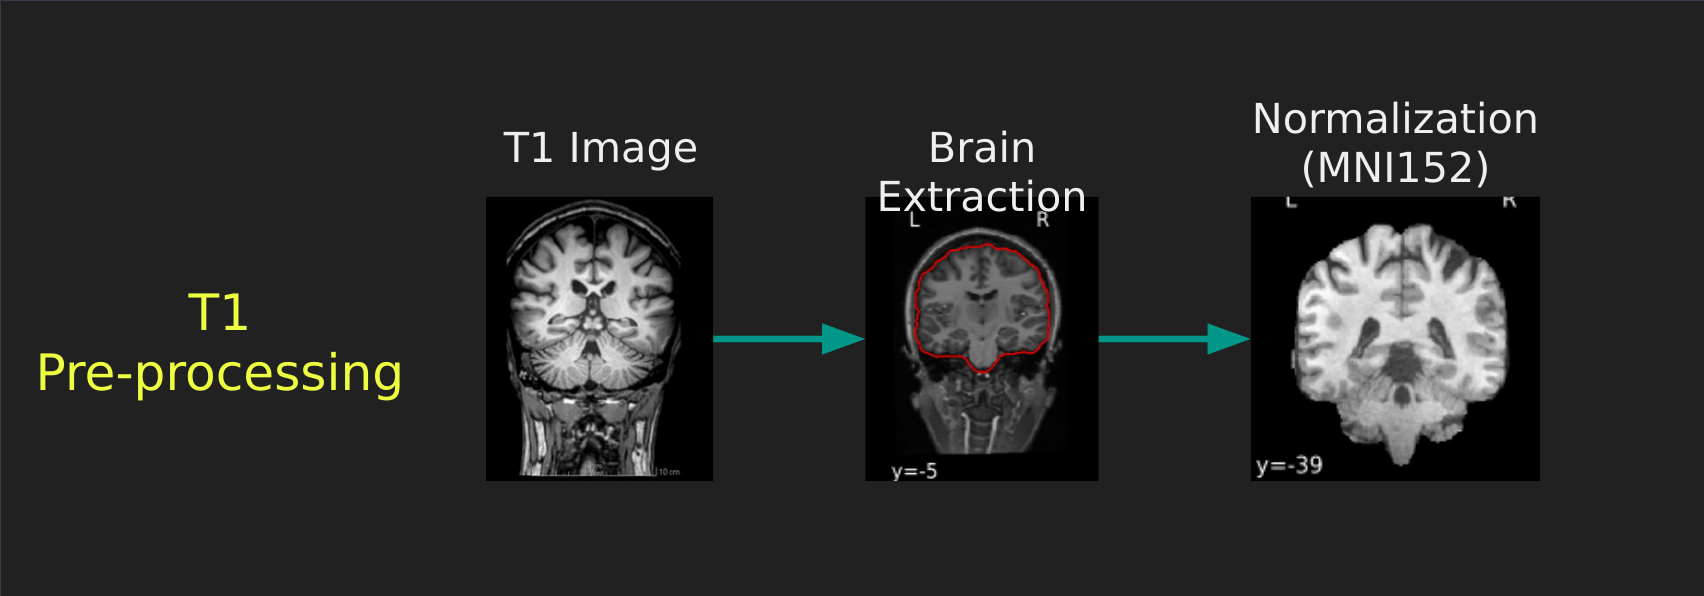
Image 1 of 1: ‘fMRI Preprocessing Steps’
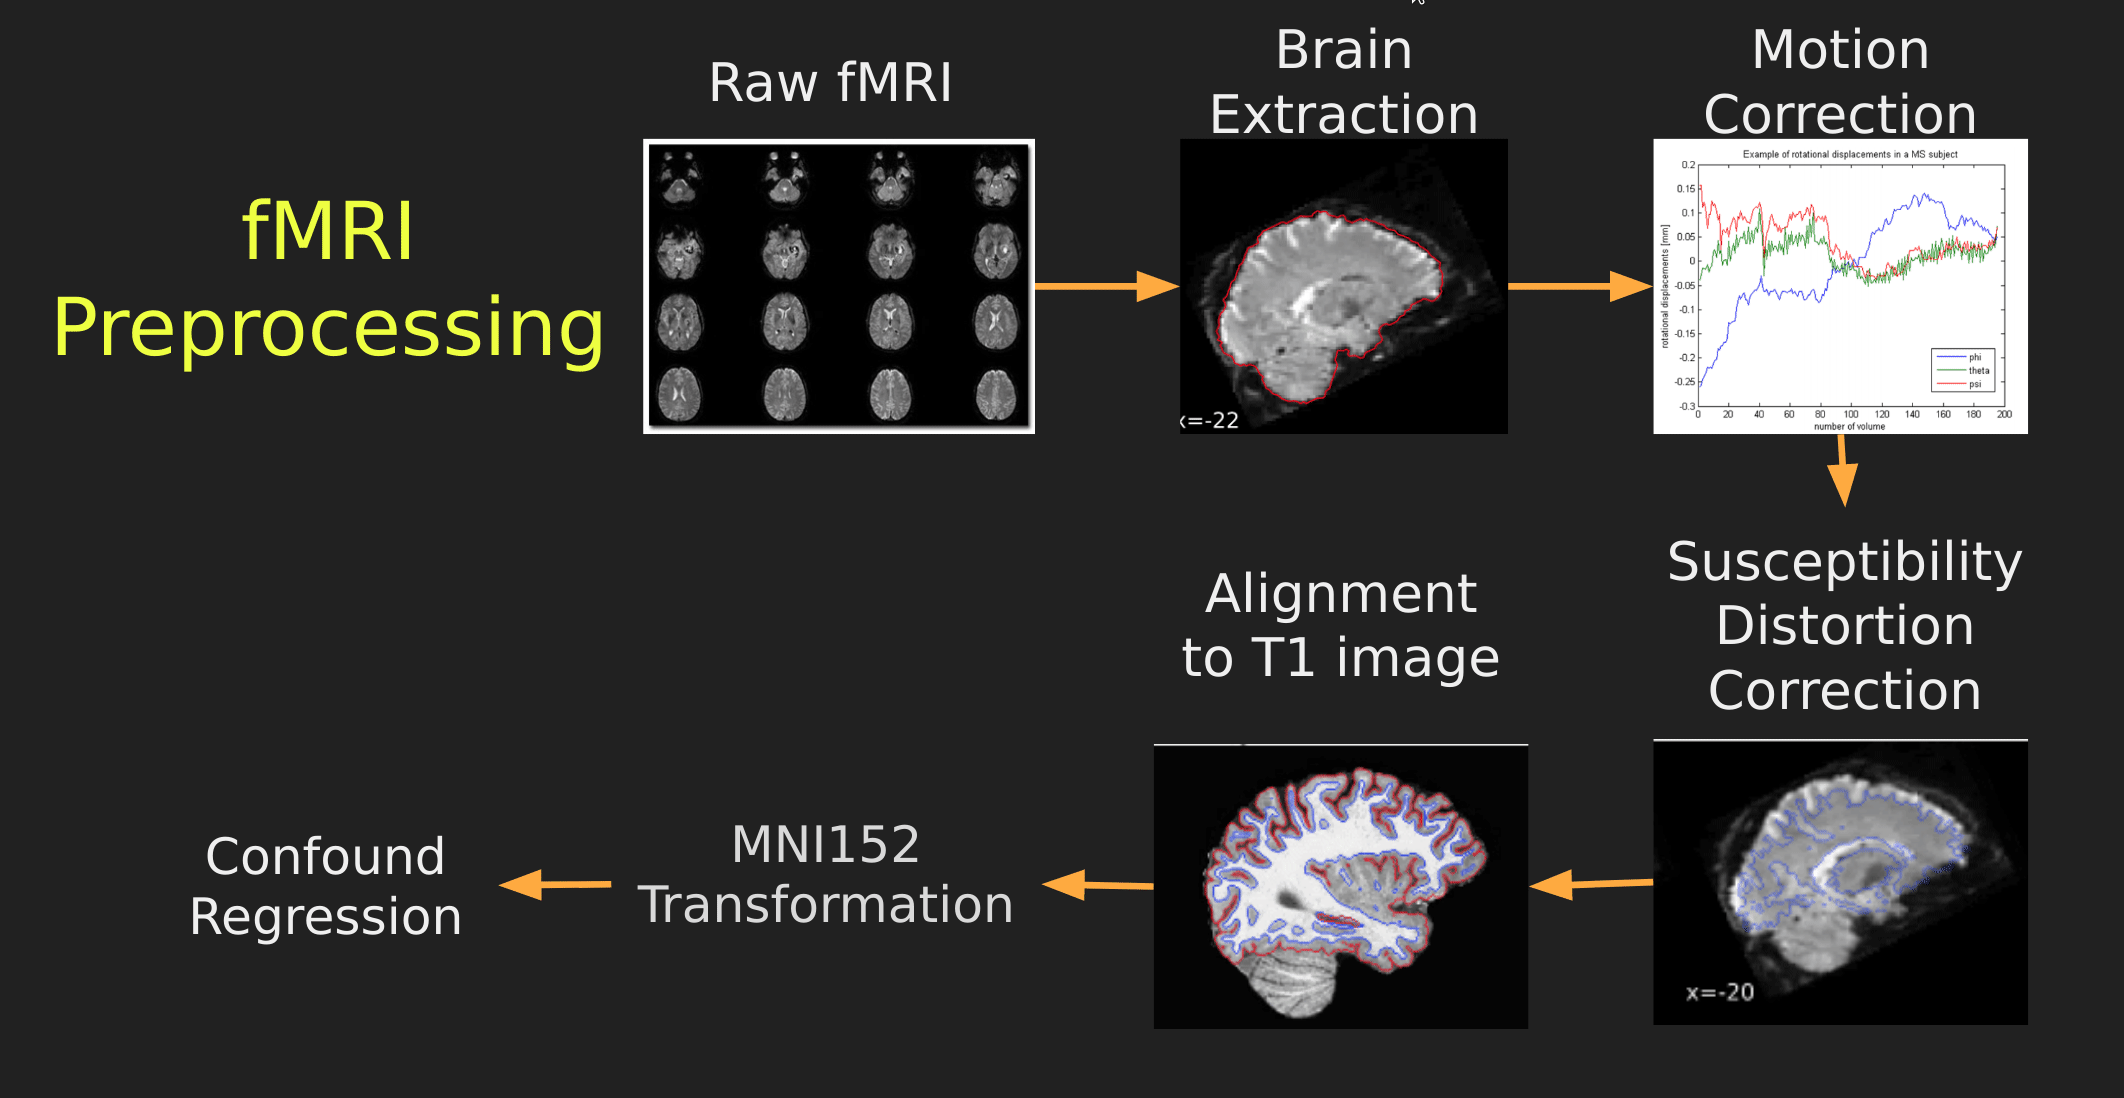
Image 1 of 1: ‘fMRIPrep's Workflow’

Image 1 of 1: ‘fMRIPrep Anatomical Outputs’
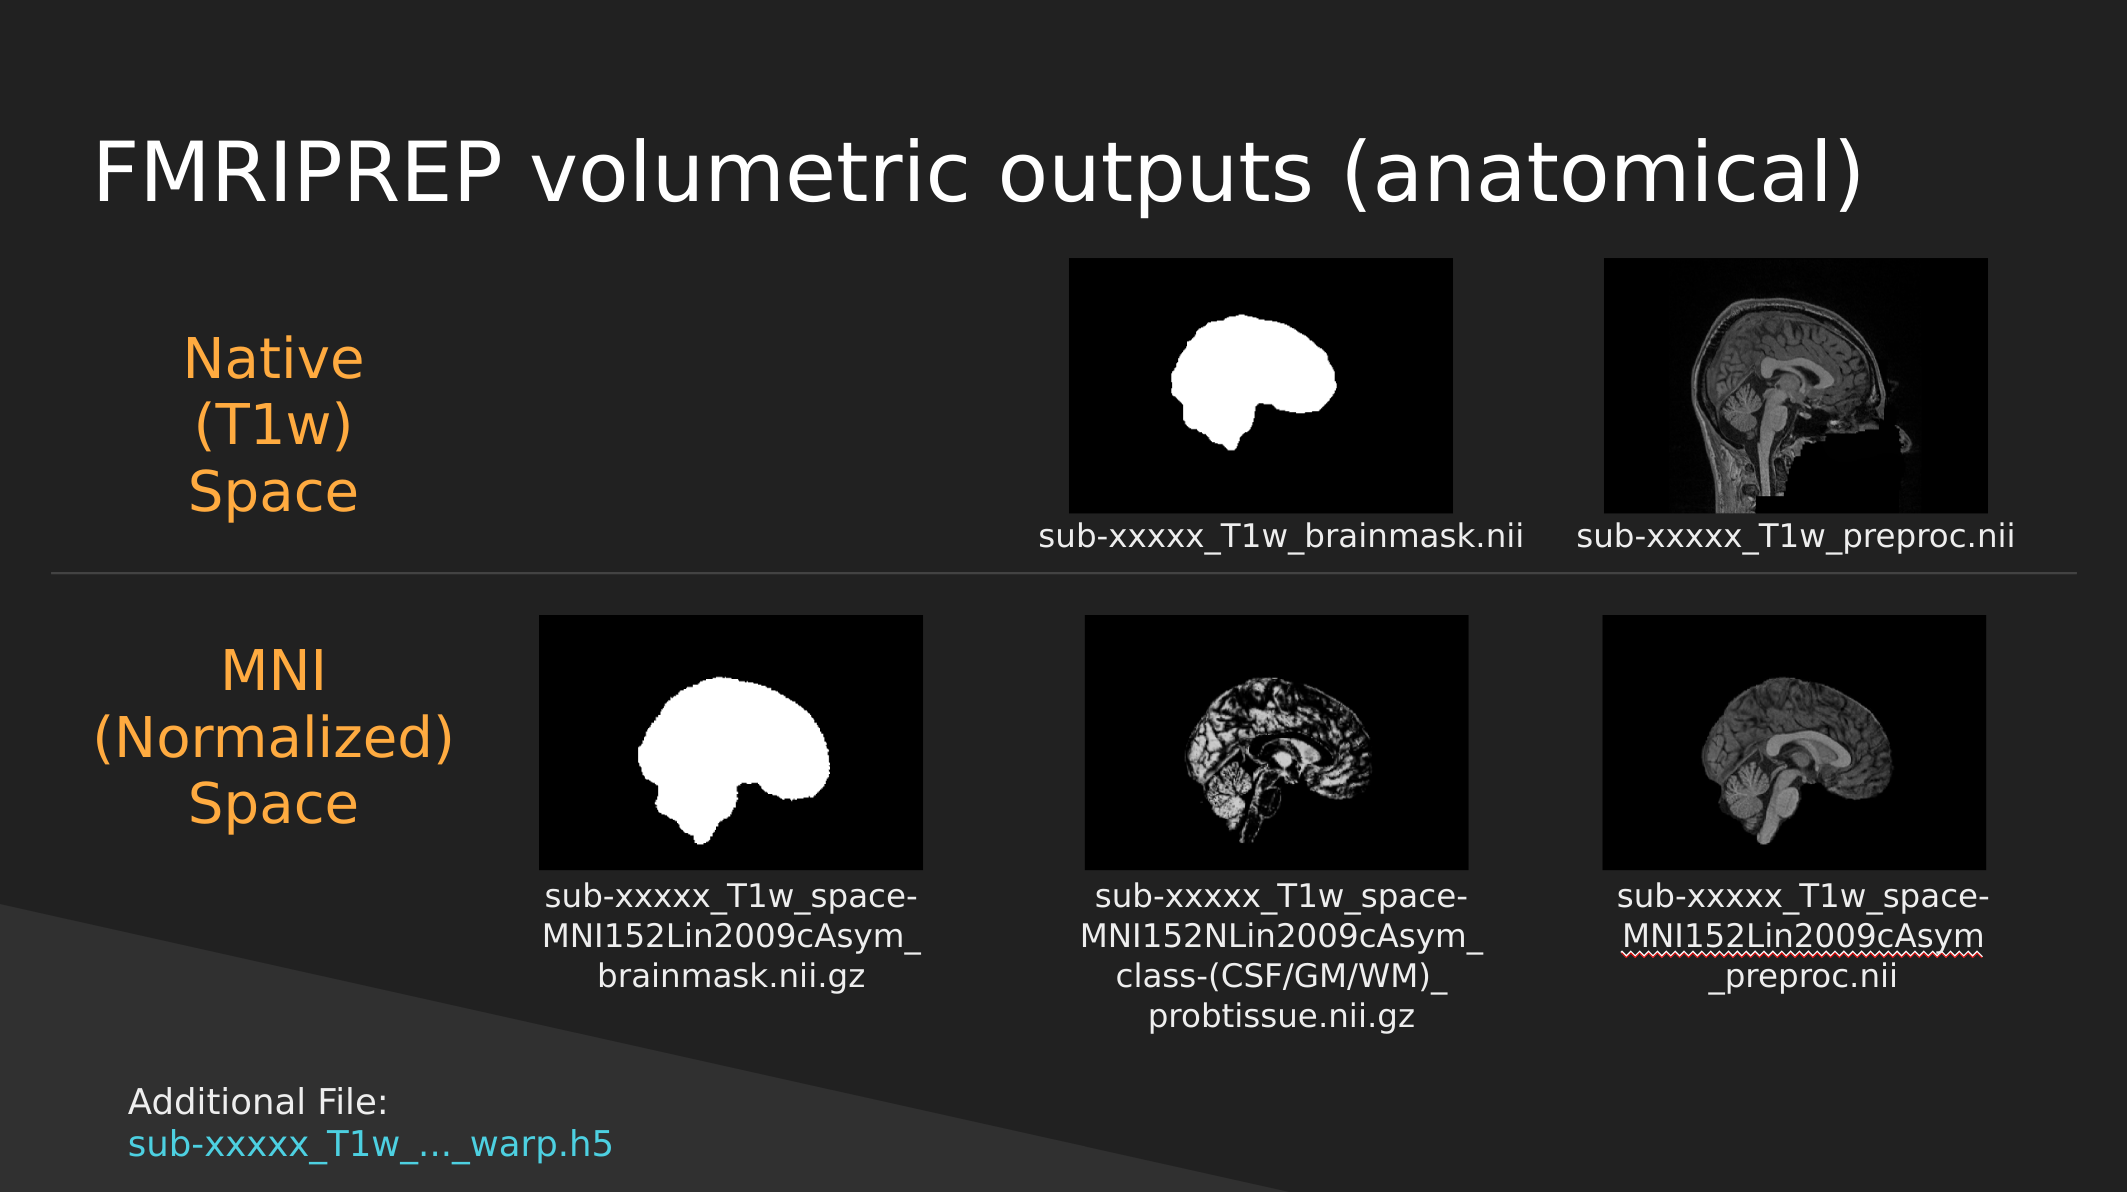
Image 1 of 1: ‘fMRIPrep Functional Outputs’

Image 1 of 1: ‘Nilearn antomical plotting’
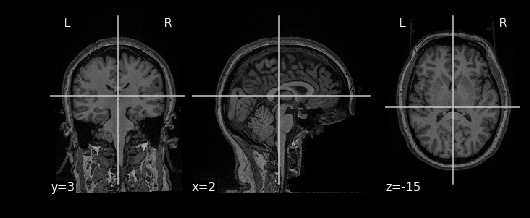
Image 1 of 1: ‘Nilearn image math example output’
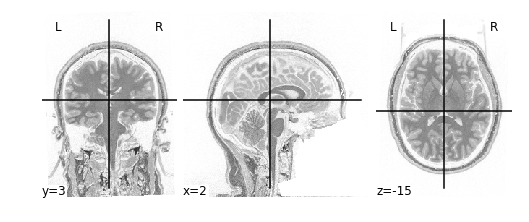
Image 1 of 1: ‘Nilearn image masking output’
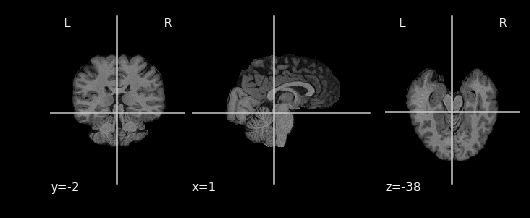
Image 1 of 1: ‘Episode 03 Exercise 1 inverted mask’
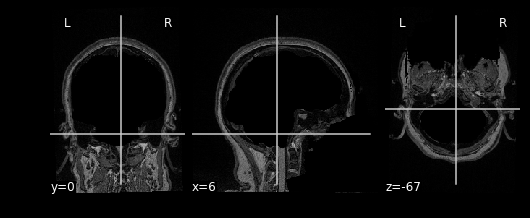
Image 1 of 1: ‘3D Array Representation’
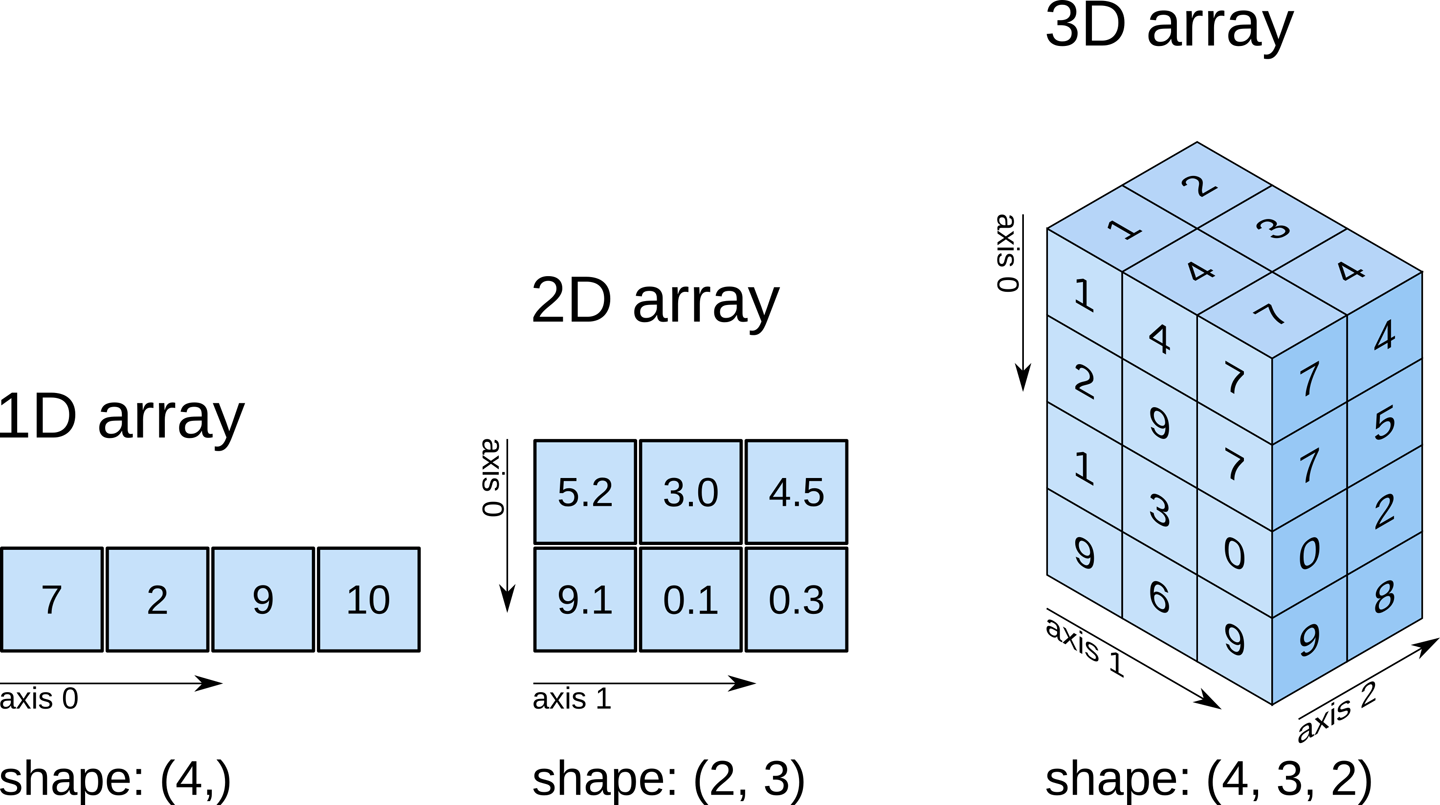
Image 1 of 1: ‘Animated Slicing of T1’
Image 1 of 1: ‘4D Array Representation’
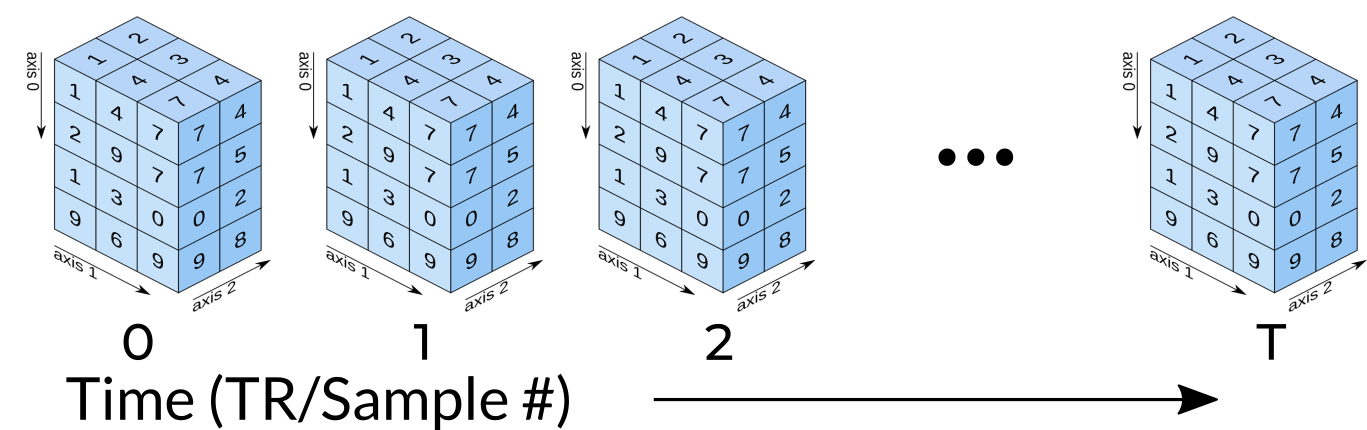
Image 1 of 1: ‘Visual of fMRI EPI Data’
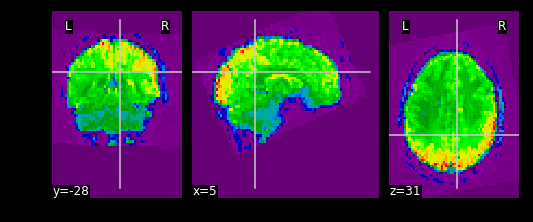
Image 1 of 1: ‘Example fMRI Timeseries’
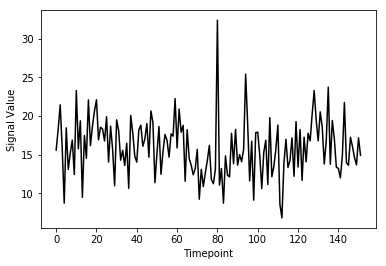
Image 1 of 1: ‘Downsampled T1’
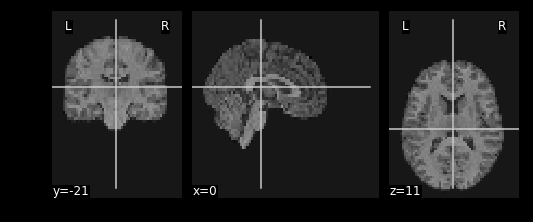
Image 1 of 1: ‘Episode 04 Exercise Inverted Mask’
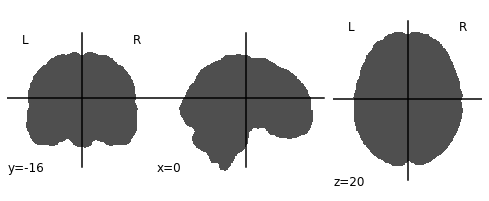
Image 1 of 1: ‘Episode 04 Exercise Hollow Skull’
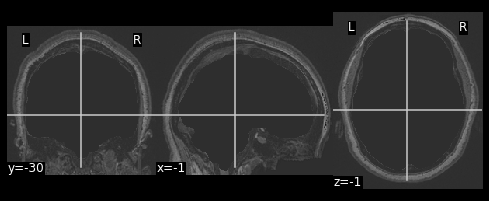
Image 1 of 1: ‘Episode 04 Exercise Resampled Hollow Skull’
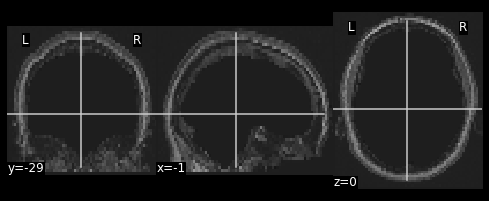
Image 1 of 1: ‘Episode 04 Exercise fMRI’
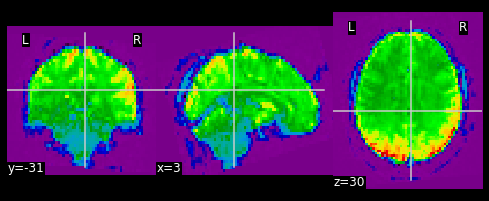
Image 1 of 1: ‘Episode 04 Exercise Masked fMRI’
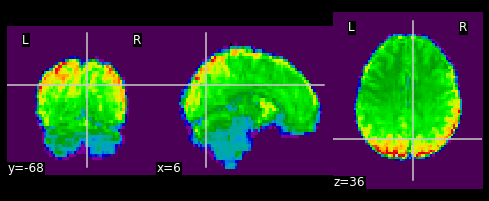
Image 1 of 1: ‘Episode 04 Exercise Complete’
Image 1 of 1: ‘Confounds Matrix’
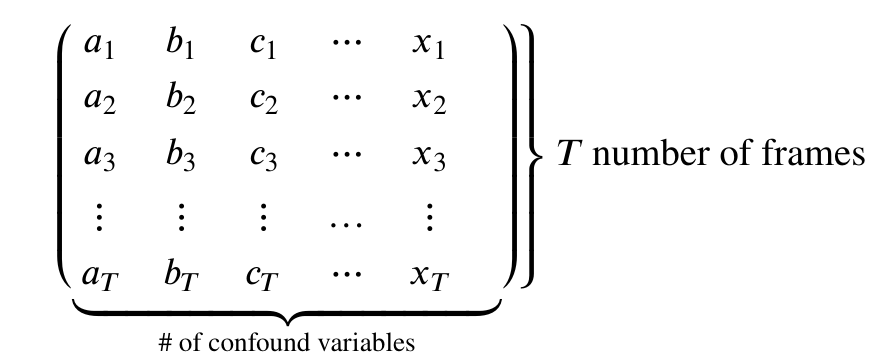
Image 1 of 4: ‘Yeo Thin 7’
Image 2 of 4: ‘Yeo Thin 17’
Image 3 of 4: ‘Yeo Thick 7’
Image 4 of 4: ‘Yeo Thick 17’
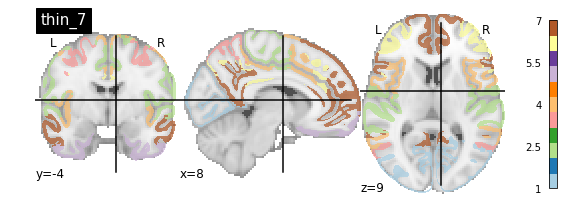
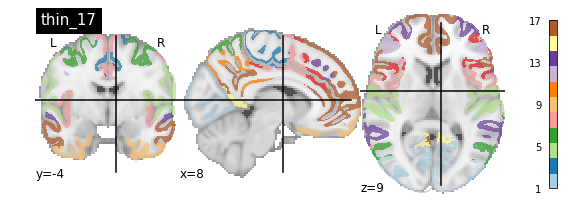
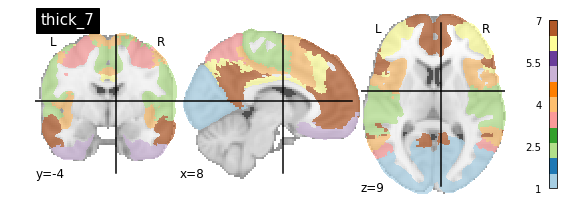
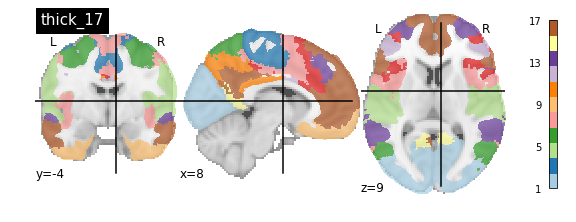
Image 1 of 1: ‘Separated Yeo Labels’

Image 1 of 1: ‘Episode 06 Exercise Resampled Yeo Labels’
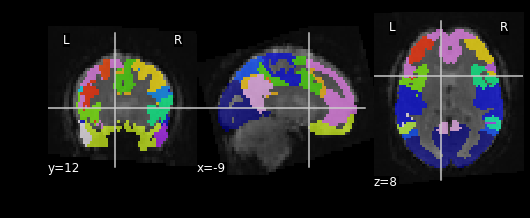
Image 1 of 1: ‘Episode 06 Exercise Yeo ROI 44’
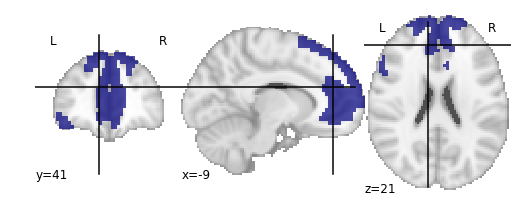
Image 1 of 1: ‘Episode 06 Exercise Yeo ROI 46’
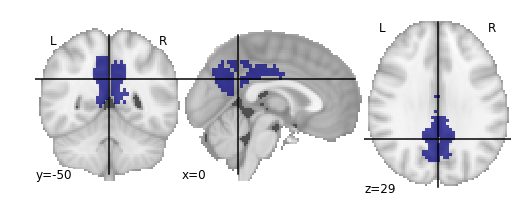
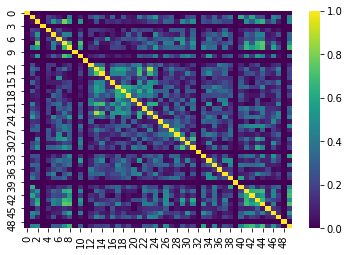
Image 1 of 1: ‘Connectivity Matrix Heatmap’
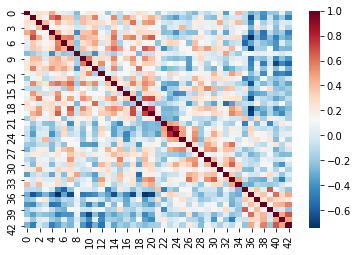
Image 1 of 1: ‘Absolute Matrix Heatmap Zeros Highlighted’